Sew an Acorn Pouch!
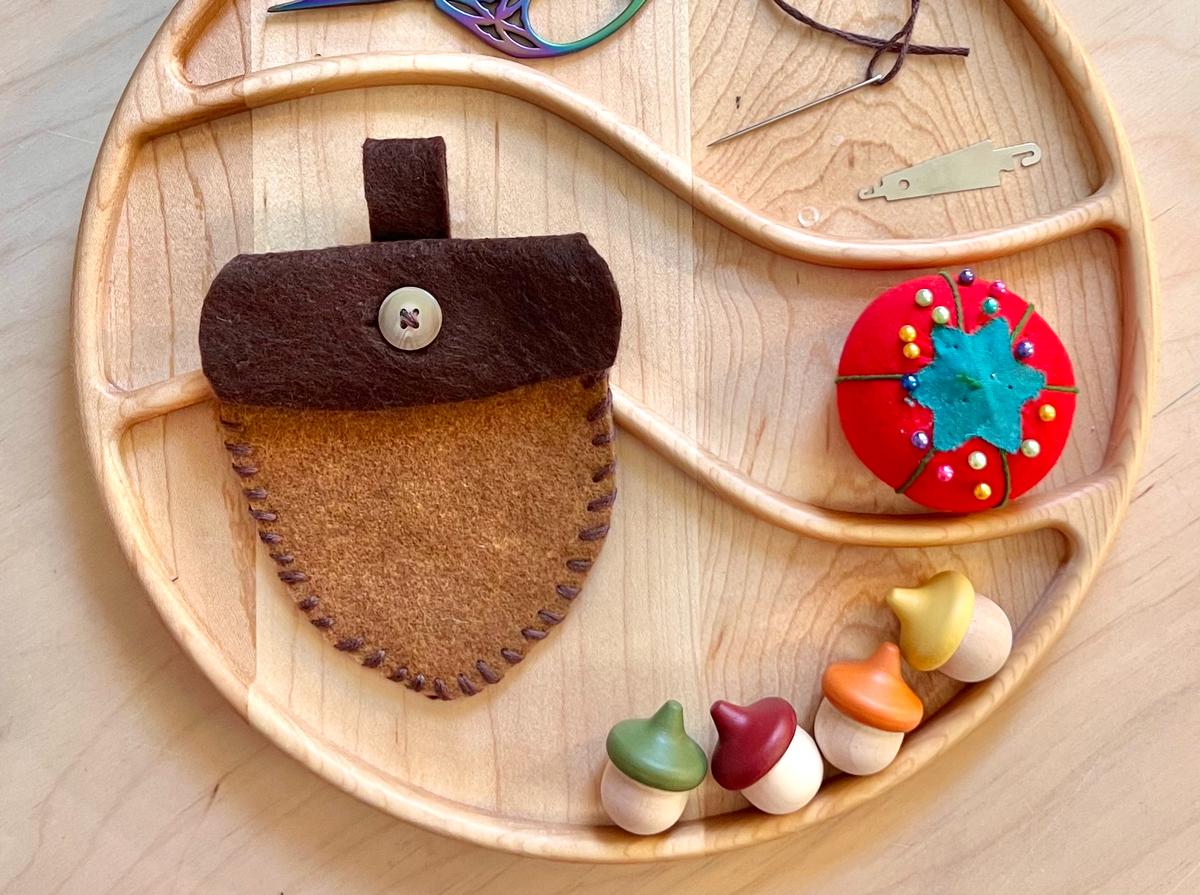
Make an Acorn Pouch for Your Autumn Treasures - A simple sewing tutorial
Fall is our favorite season for collecting nature treasures! Here’s a sweet little sewing project you can make to give those treasures a fun home!
Follow this photo-tutorial for step-by-step instructions for making your own acorn pouch, or check out my video tutorial over on instagram.
You can find a printable PDF pattern for the pouch at the end of this blog post. You’ll want to print that out first to prep your materials.
1- Gather your supplies
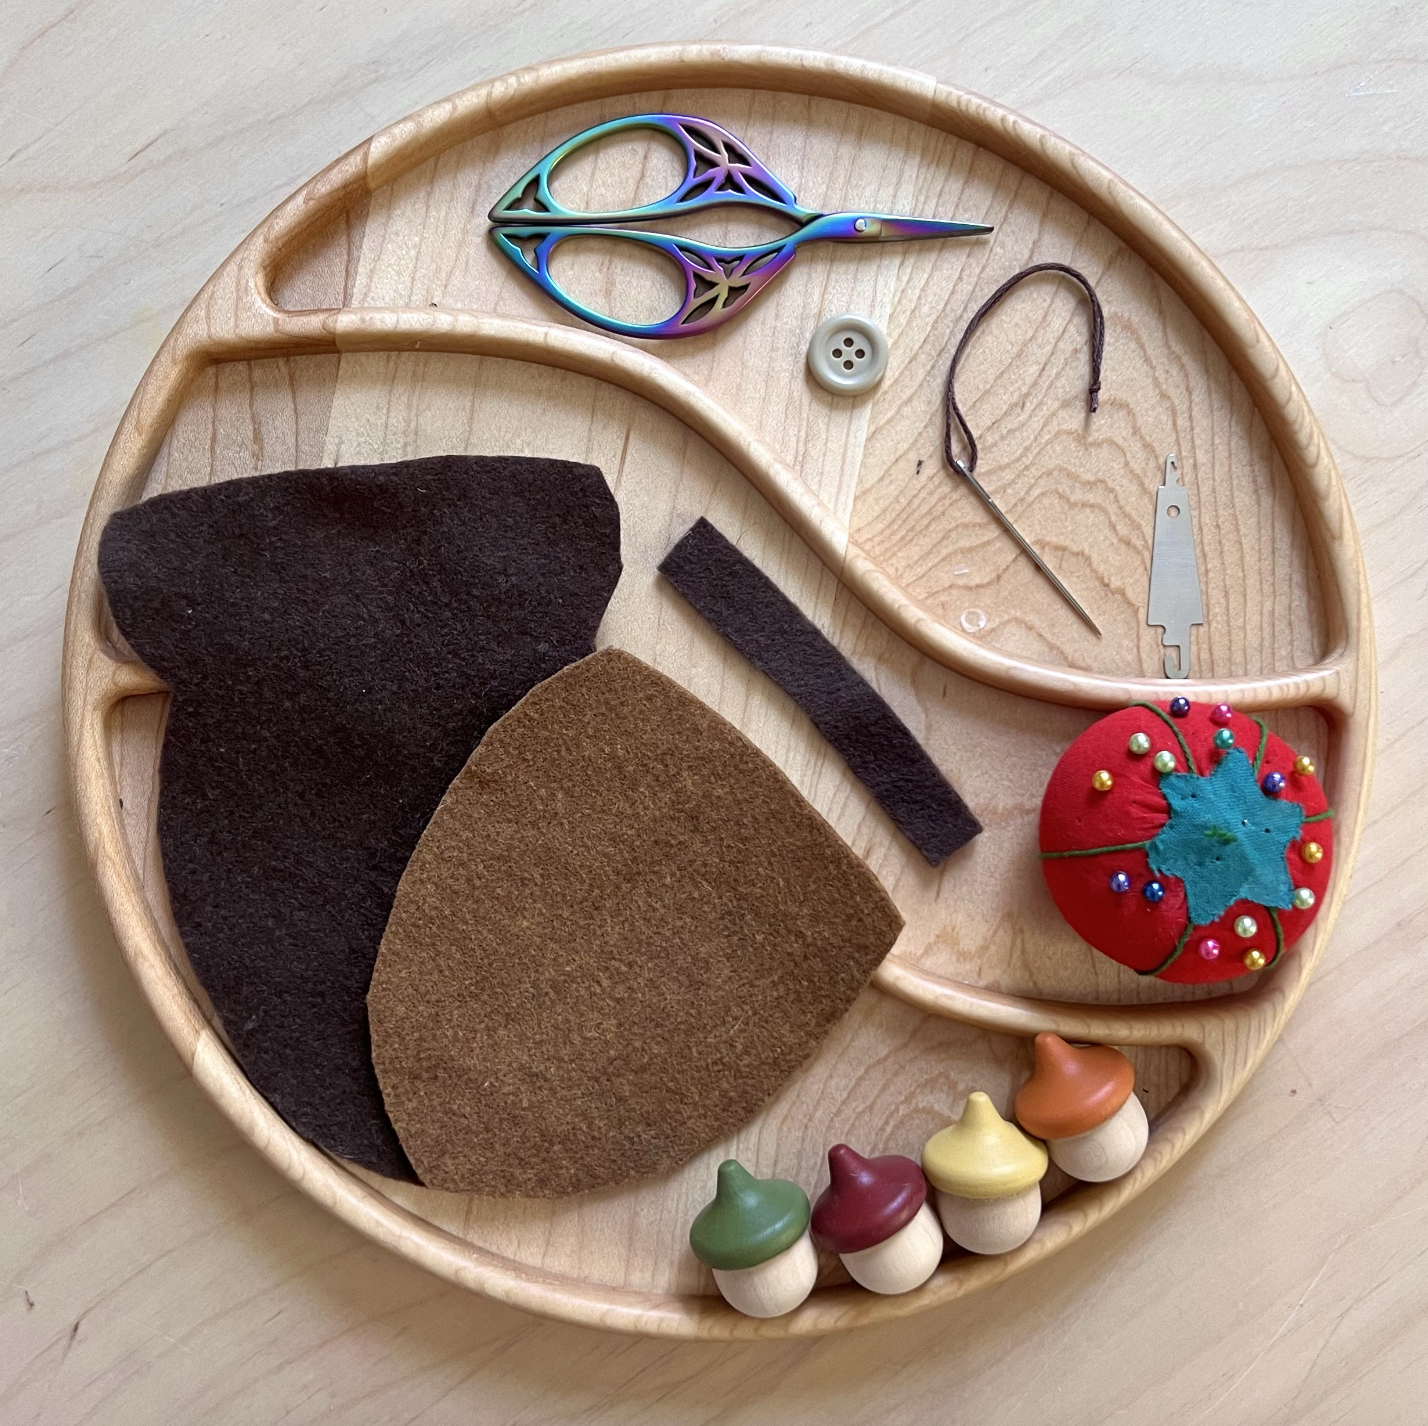
To make your own acorn pouch you’ll need: (suggestions at the end of this post)
felt in two colors (cut out using the PDF pattern)
a button
embroidery floss
a tapestry needle
straight pins
scissors
2- Sew on the button
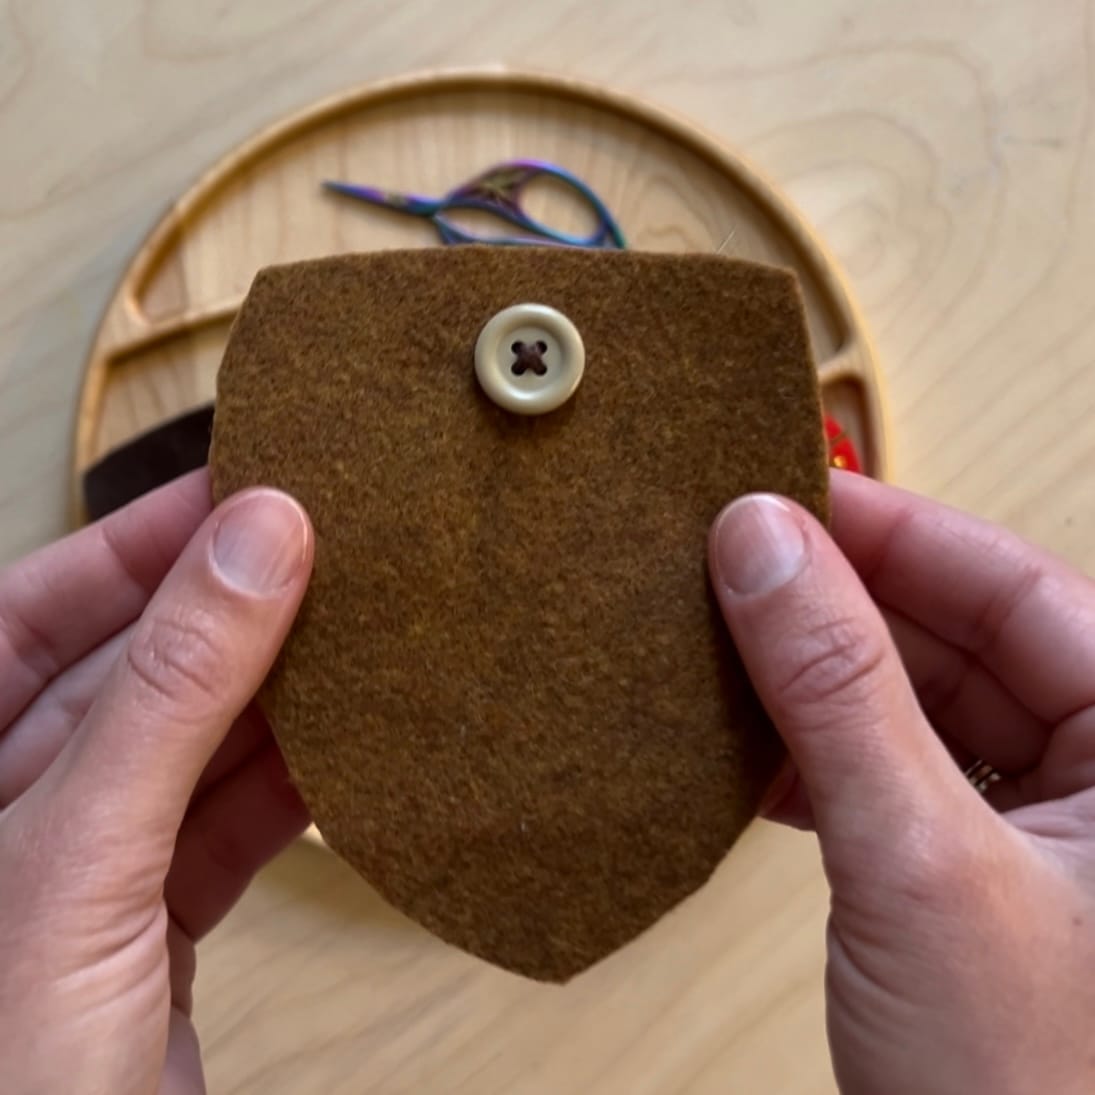
First you’ll sew the button onto the front piece of the pouch.
3- Pin together the pouch front & back
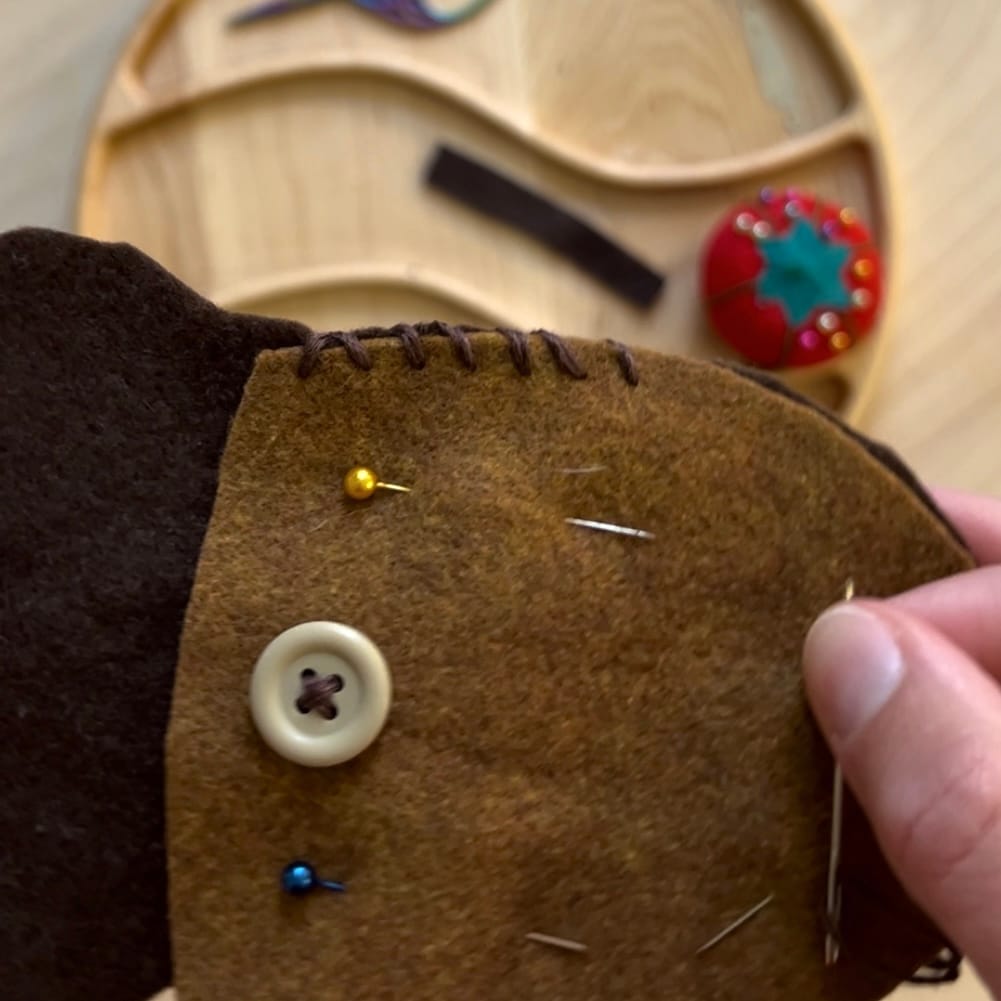
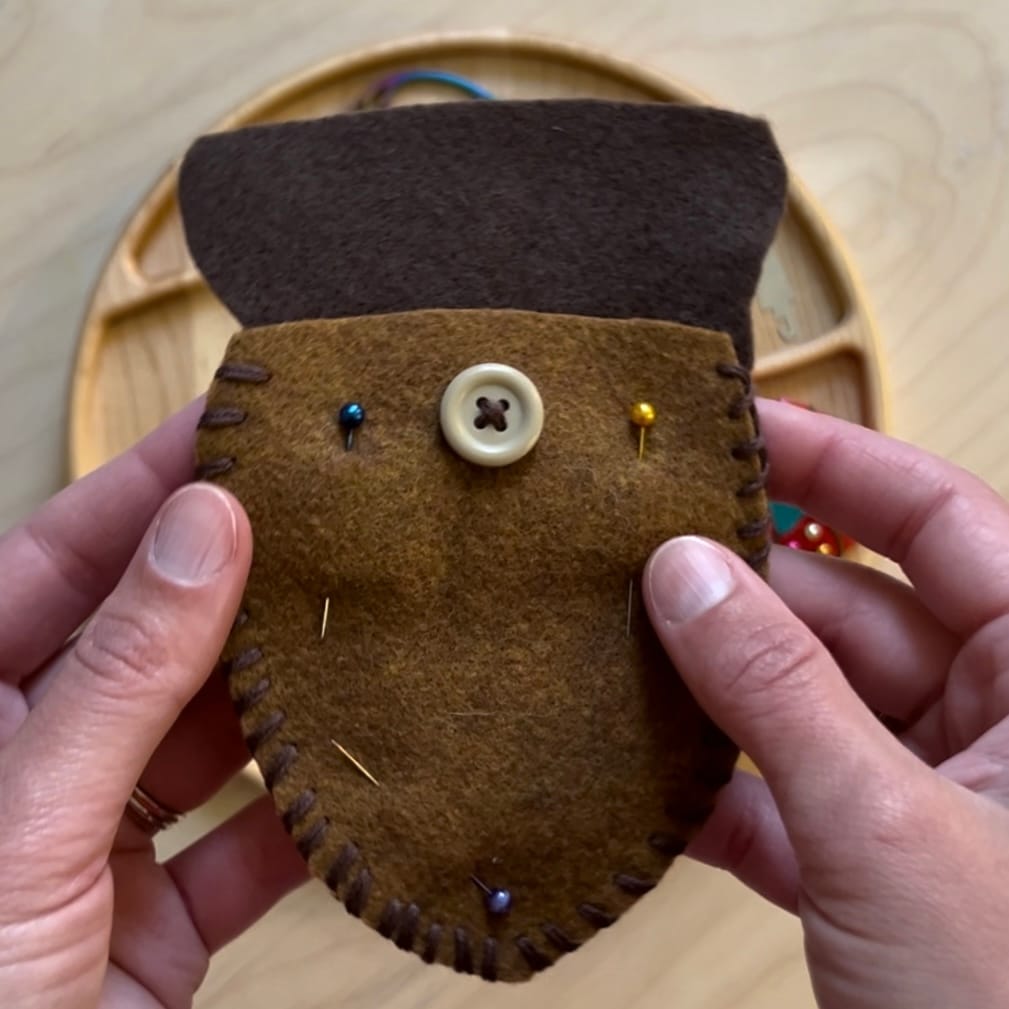
Line up the front and back pieces and pin them together for easy sewing
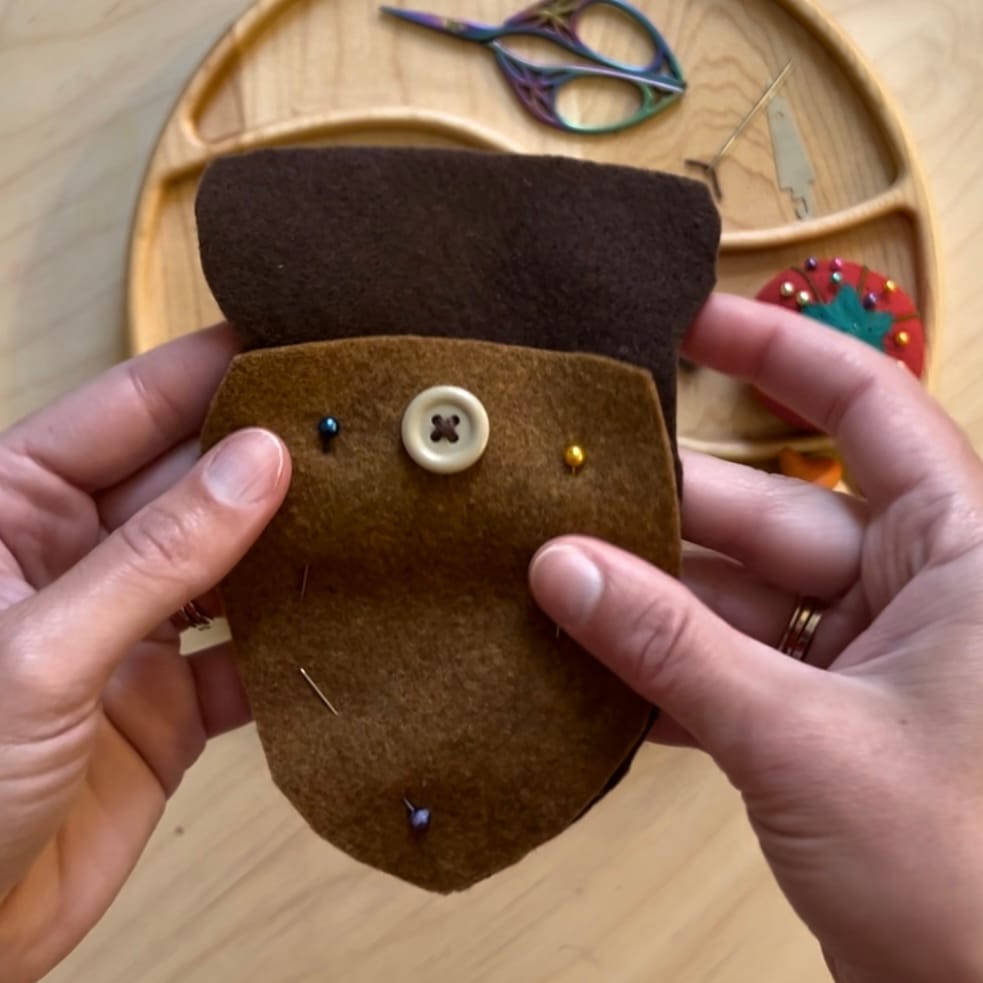
4- Sew the pouch together
Use a whip stitch to sew around the edges of the pouch, joining the front and back pieces together.
5- Cut the button hole
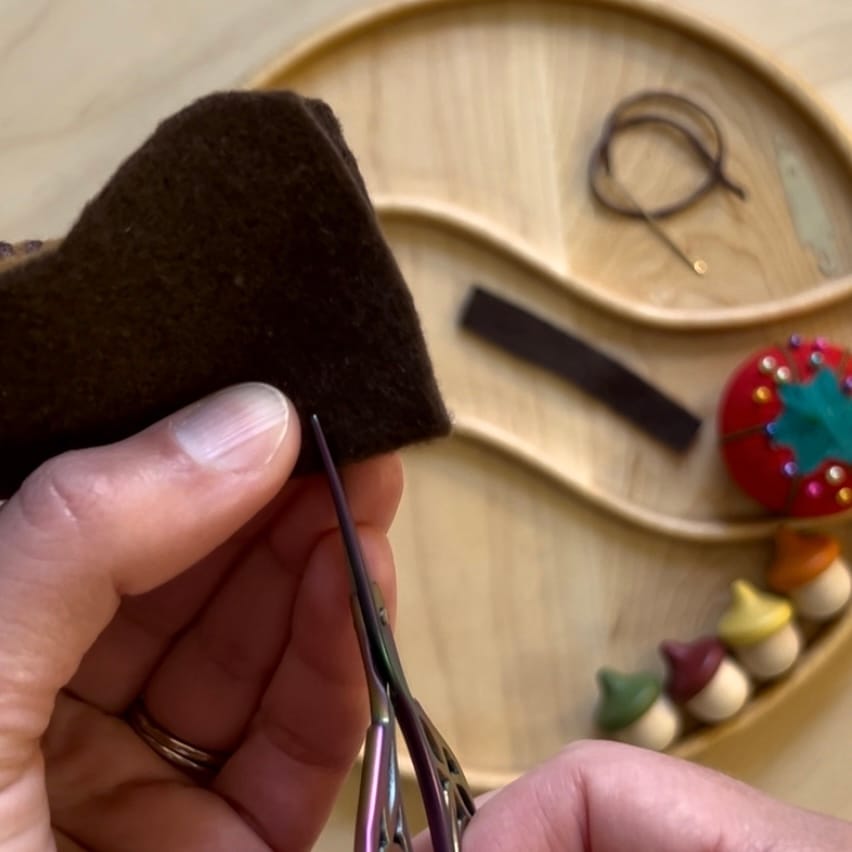
Use sharp scissors to snip a small hole in the part of the felt which will be the pouch’s flap. You can figure out where to cut the hole by lining it up with the button.
6- Attach the stem/handle
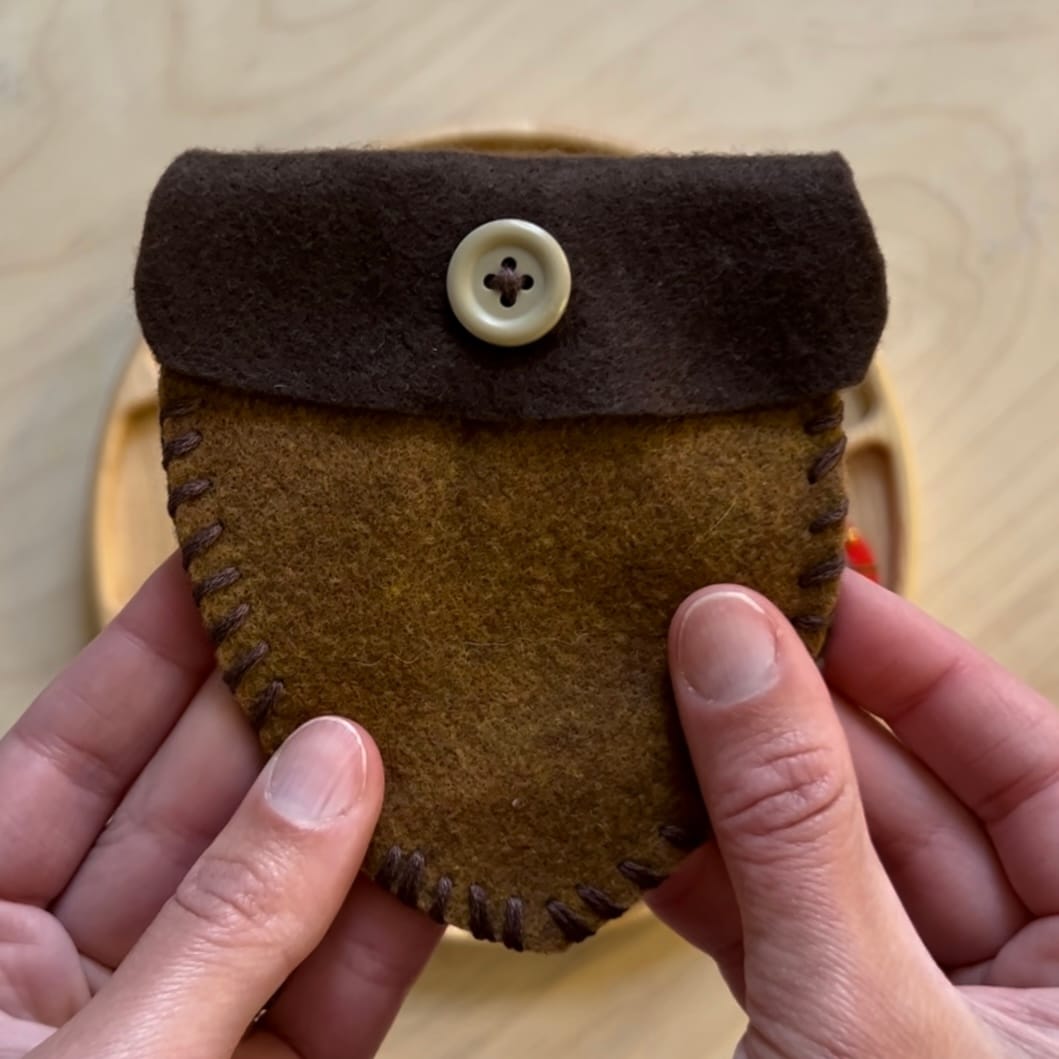
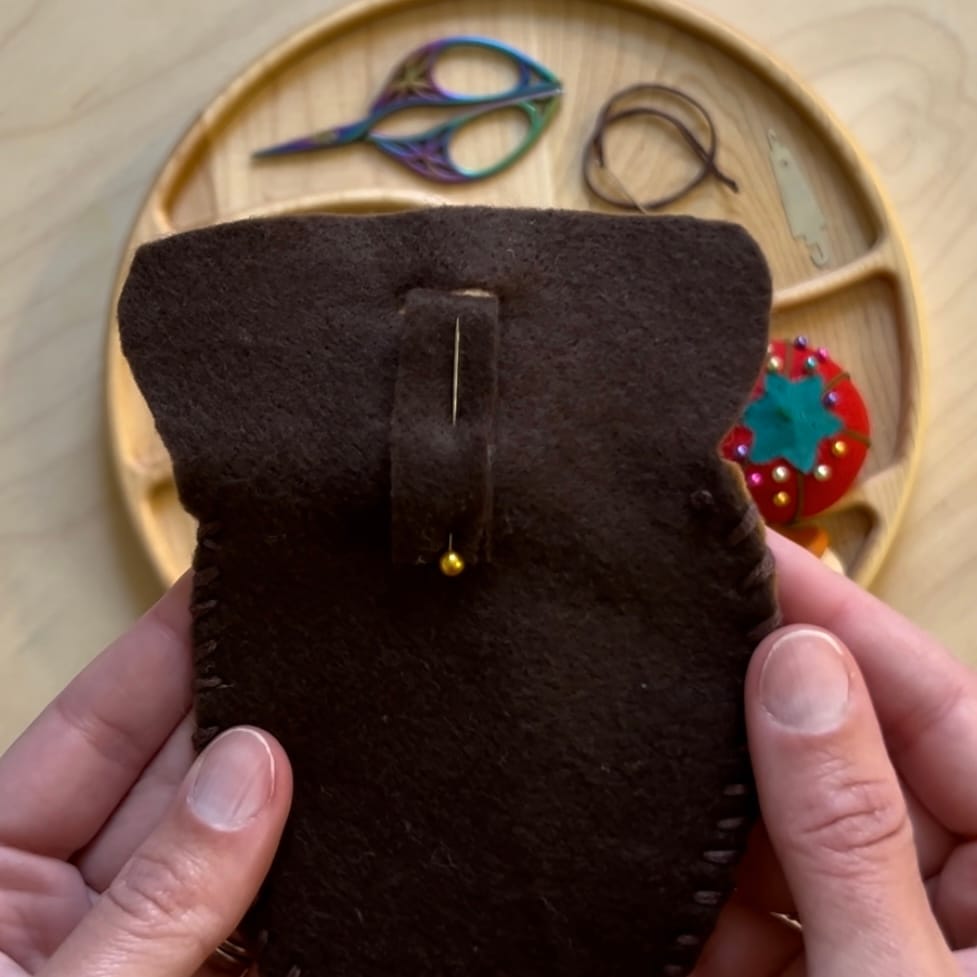
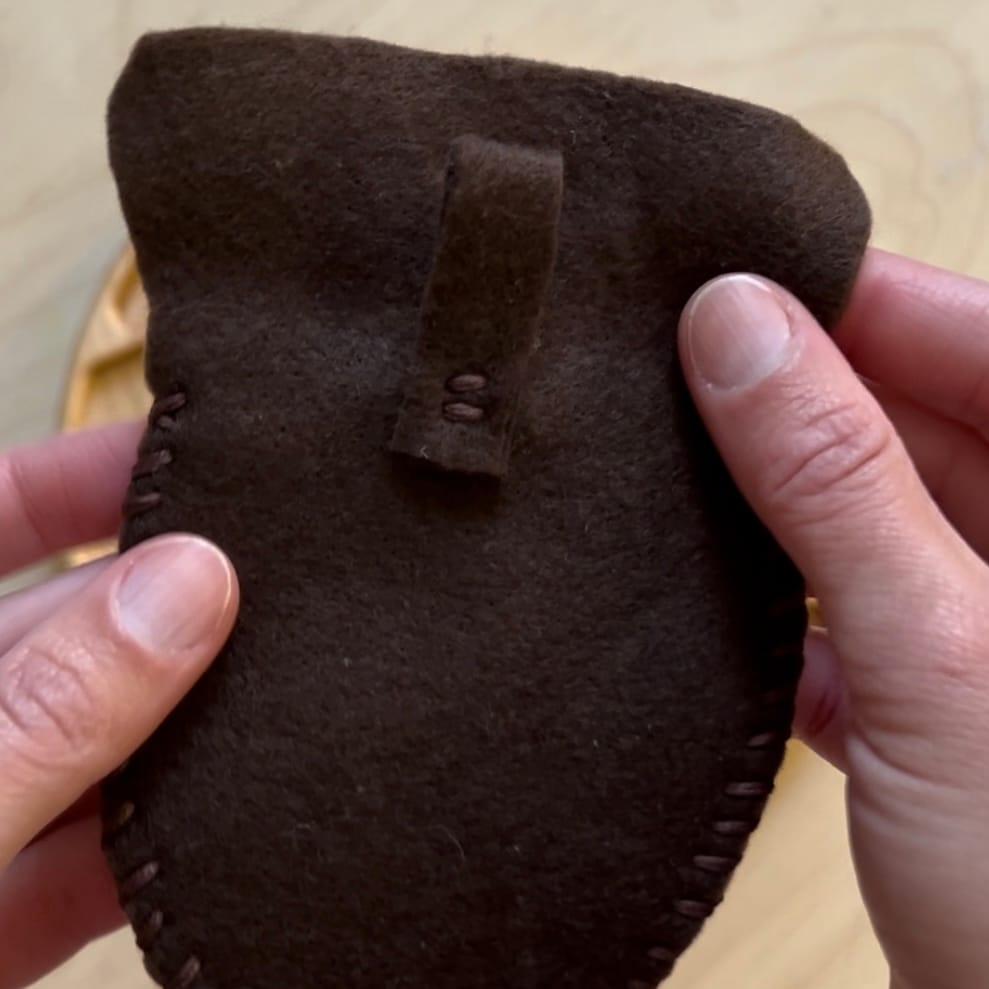
Fold the long rectangular piece of felt in half and then pin it in place at the back of your pouch. Sew it to the pouch being careful to only sew through the back layer.
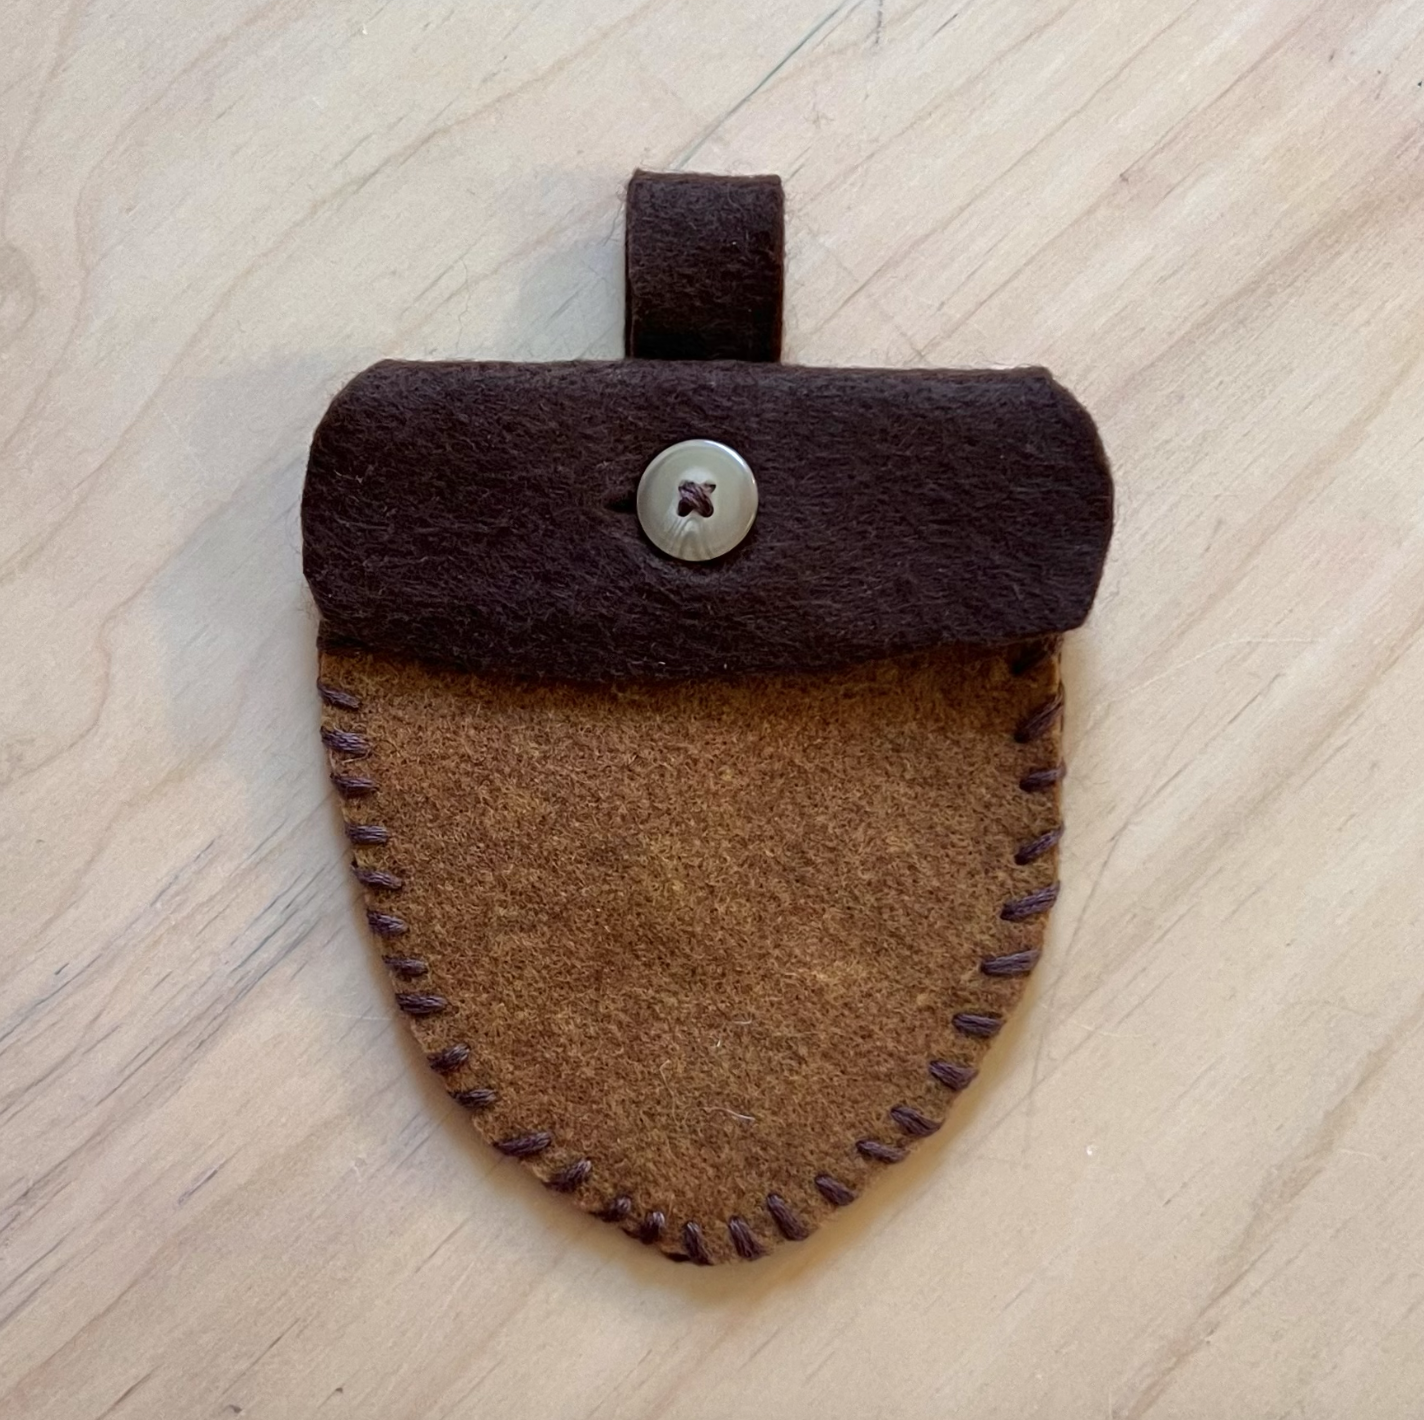
7- Button it up and enjoy!
Be sure to check out our video tutorial over on instagram and have fun sewing!
Materials suggestions:
Felt I like
Needles that work
My fave kind of pins
Embroidery floss
If you don't want to download the pattern there here's a link to find it on google drive!